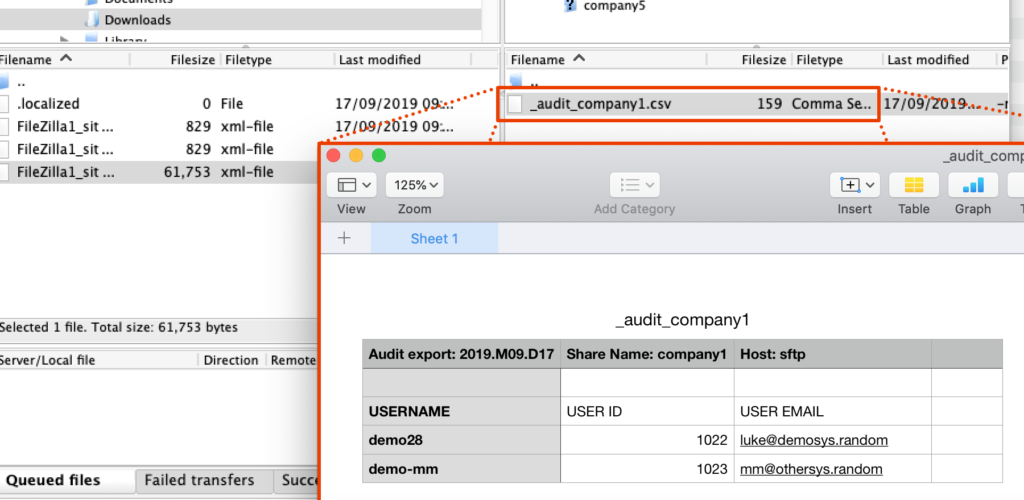
FileZilla as an application is very useful for connecting to remote file systems.
If you are looking for general information on FileZilla, please visit the authors site: https://filezilla-project.org
*To support the authors efforts to produce and maintain this software, consider purchasing the Pro version of FileZilla.
If you have received a FileZilla site import file, this provides a basic how-to import Filezilla .xml site files.
These instructions work for both SFTP and FTP connections, items shown below are focused on SFTP.
Prerequisite: Download and install FileZilla client application from the official site https://filezilla-project.org/download.php?show_all=1 and follow the installation prompts as per your computer system.
Launch FileZilla: Click the FileZilla shortcut or launch the application from your applications list.

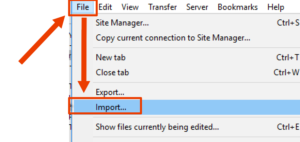
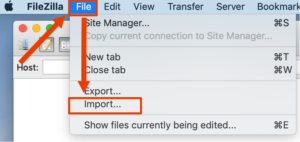
Click on File in the top navigation menu and select Import from the drop down menu.
Note that Windows and MacOS share the same menu structure
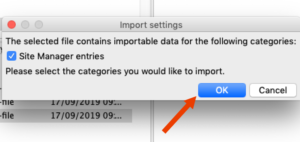
Find the import file in your folders, ie your Downloads folder, select and import.
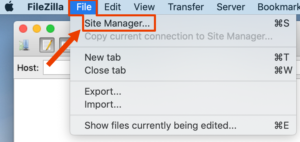
Open FileZilla Site Manager.
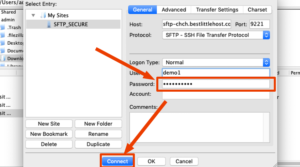
Select the newly imported site, then add the site password provided for your account – Test by choosing “Connect”.
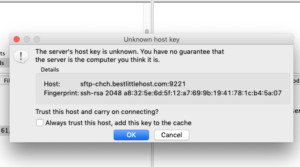
During new connection, you will get a host key acceptance prompt. You must select “OK” to proceed with the connection.
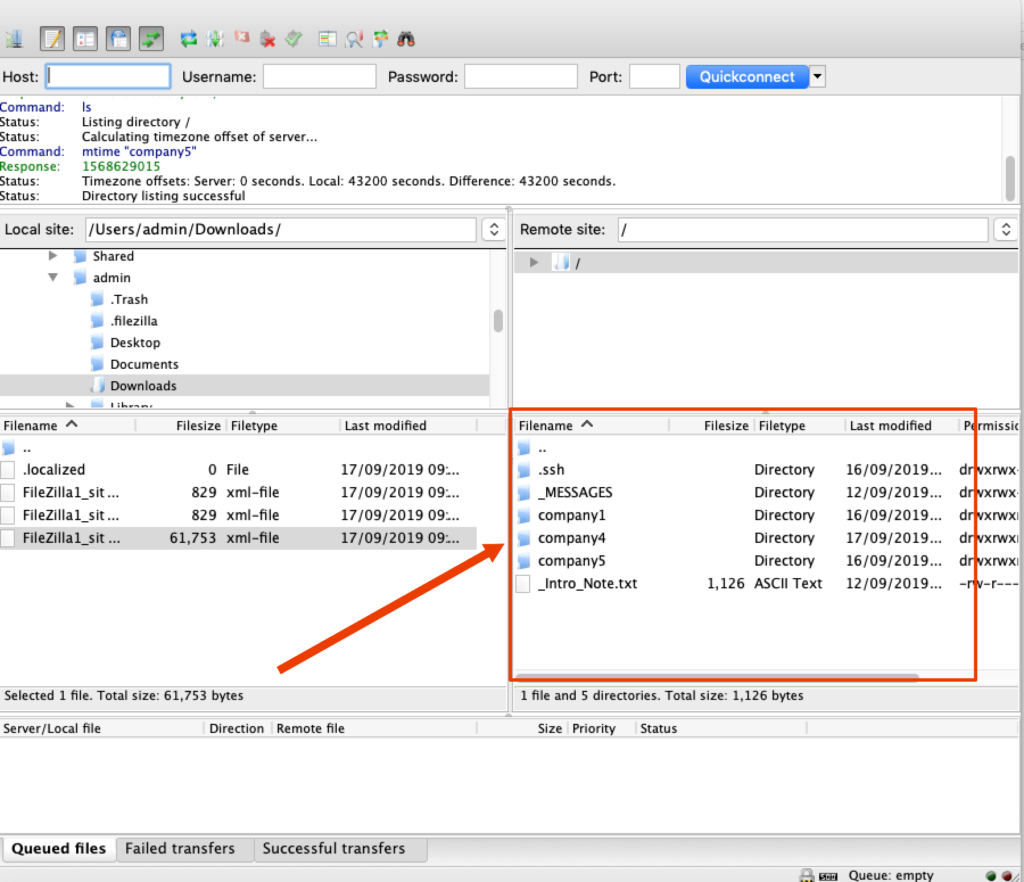
Then you should be able to view your account folders.
If you cannot get invalid credentials authentication warnings and cannot see the remote folders/files, ensure your password is correct or consult with your technical support person.
Once connected, you may edit files, right click an object, choose edit.
You can also create new files and folders by dragging them into the highlighted folder view as shown before. When you save your file, FileZilla will prompt you to upload and overwrite the existing file each time a change occurs.
